
Google Sheet Extension
PDF to Pass
Image to Pass
QR Code Generator
Barcode Generator
In this guide, you'll learn how to quickly add an Add to Wallet button to your website using a simple JavaScript snippet. This script automatically detects the user's device using the browser's user agent and displays:
So your users will always see the correct wallet option without any extra setup.
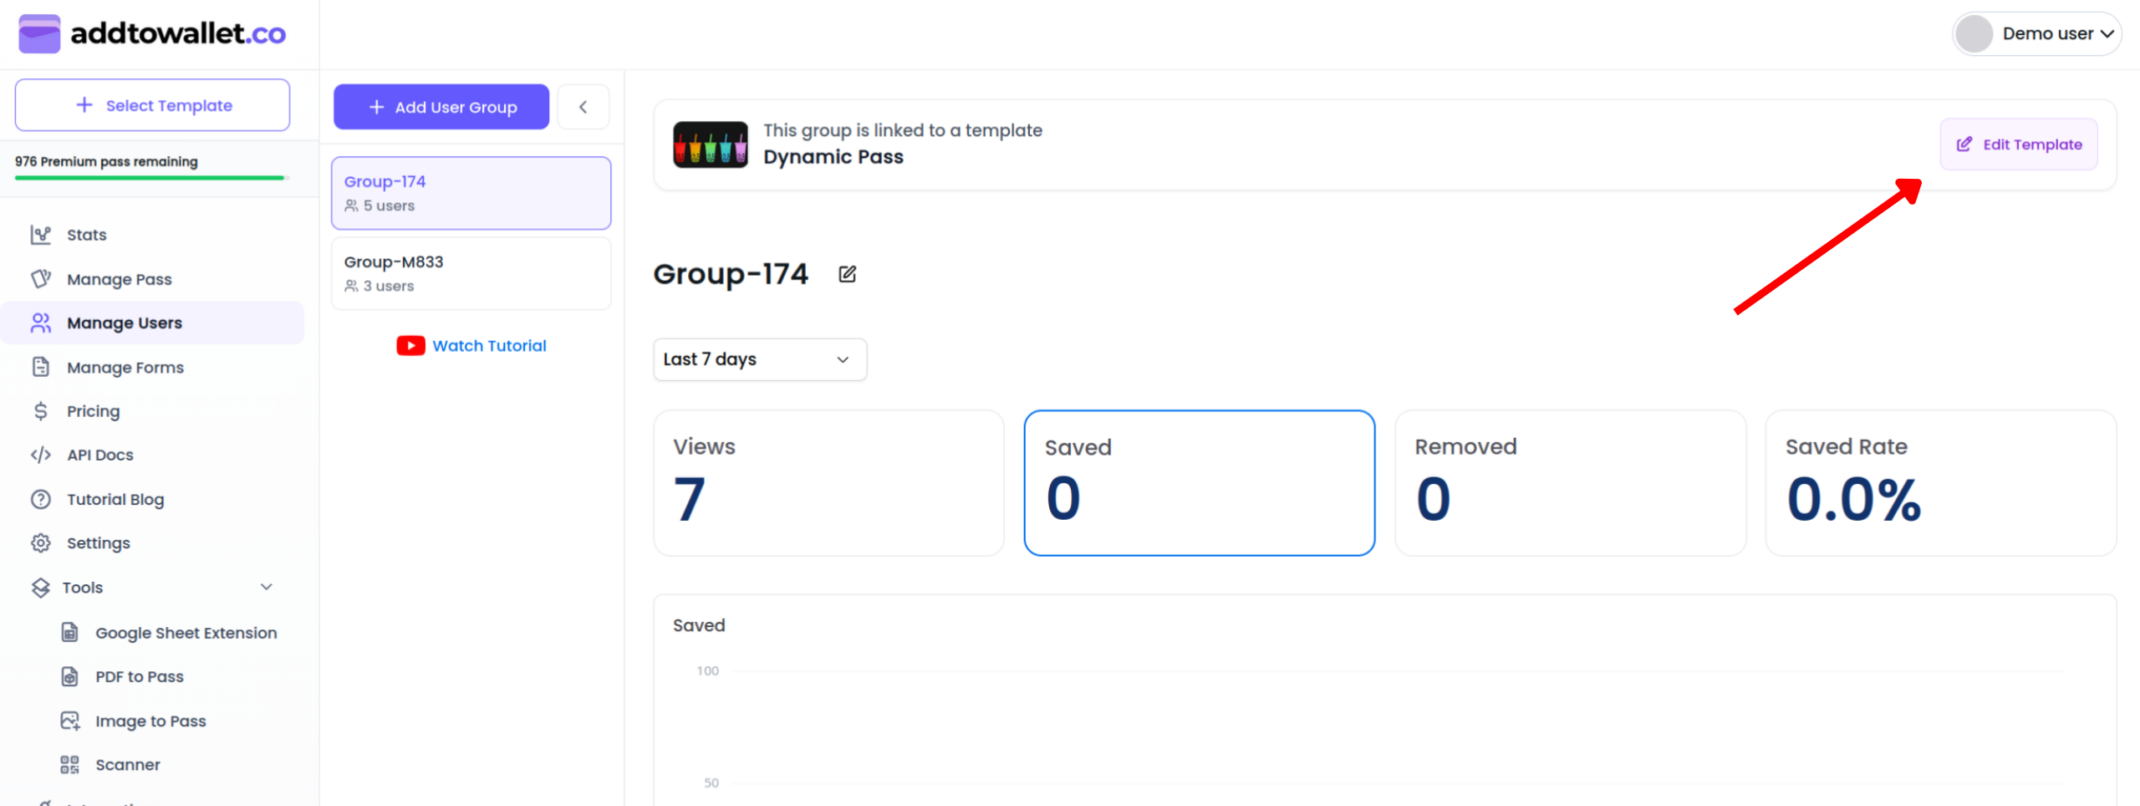
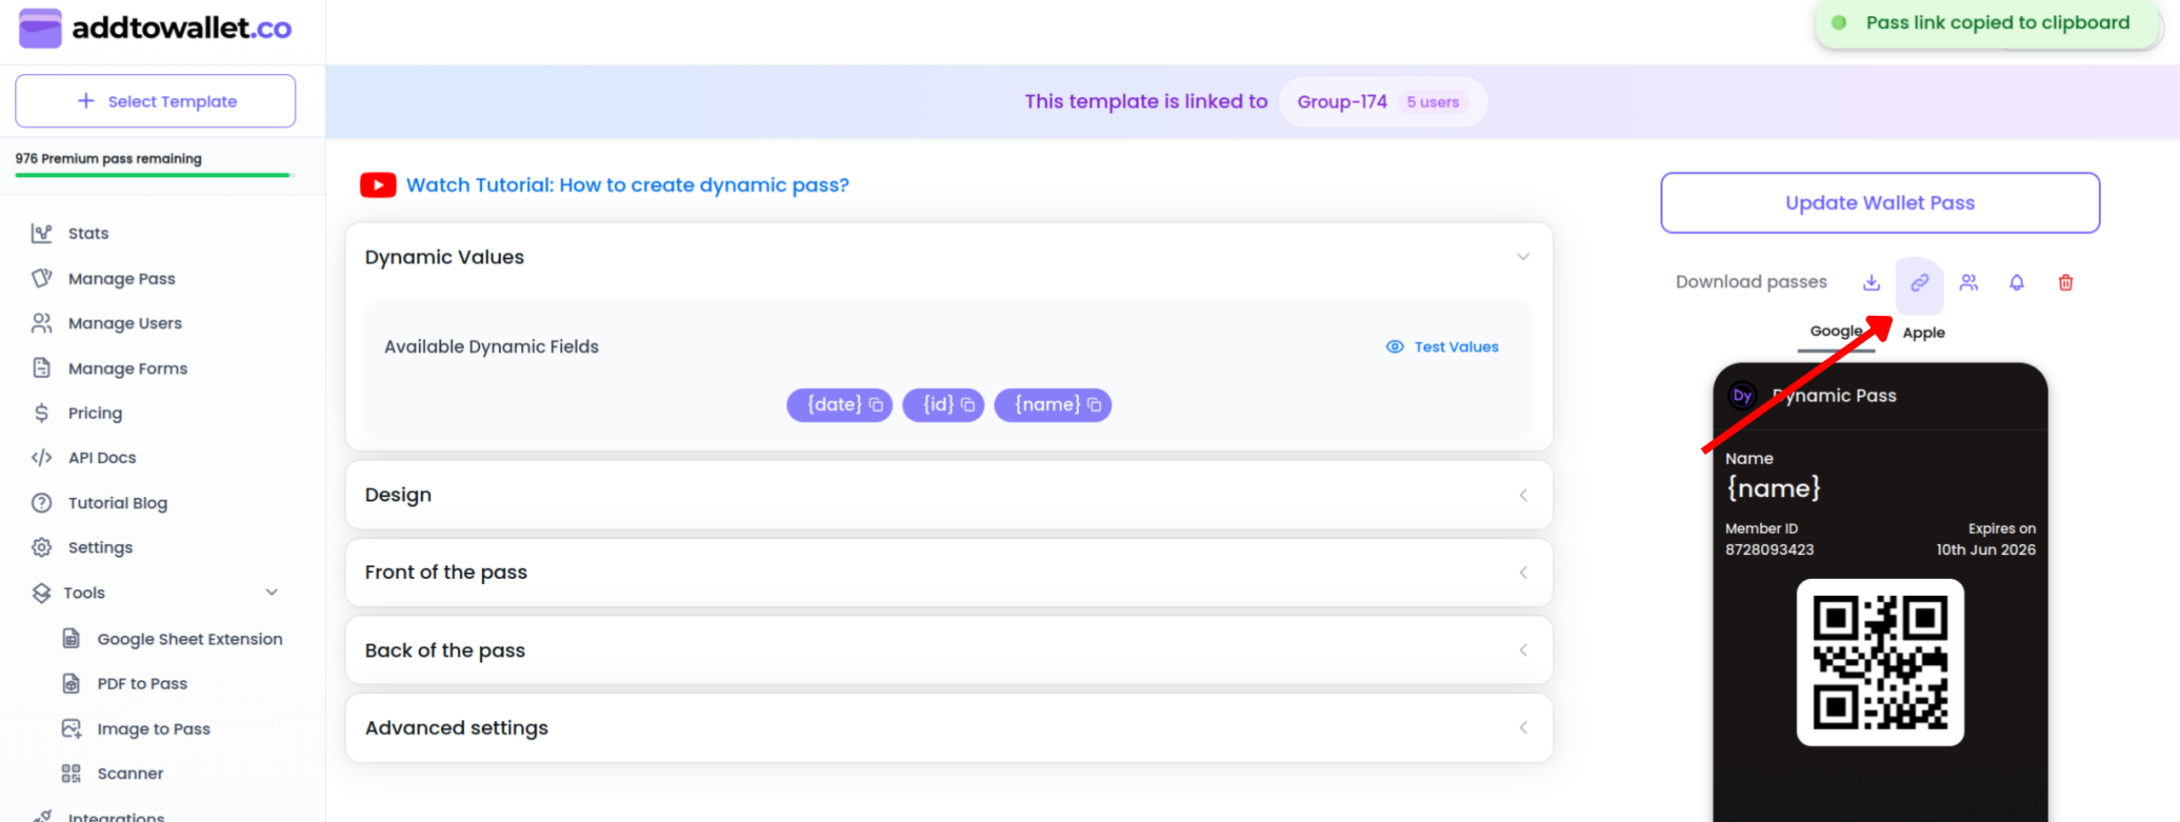
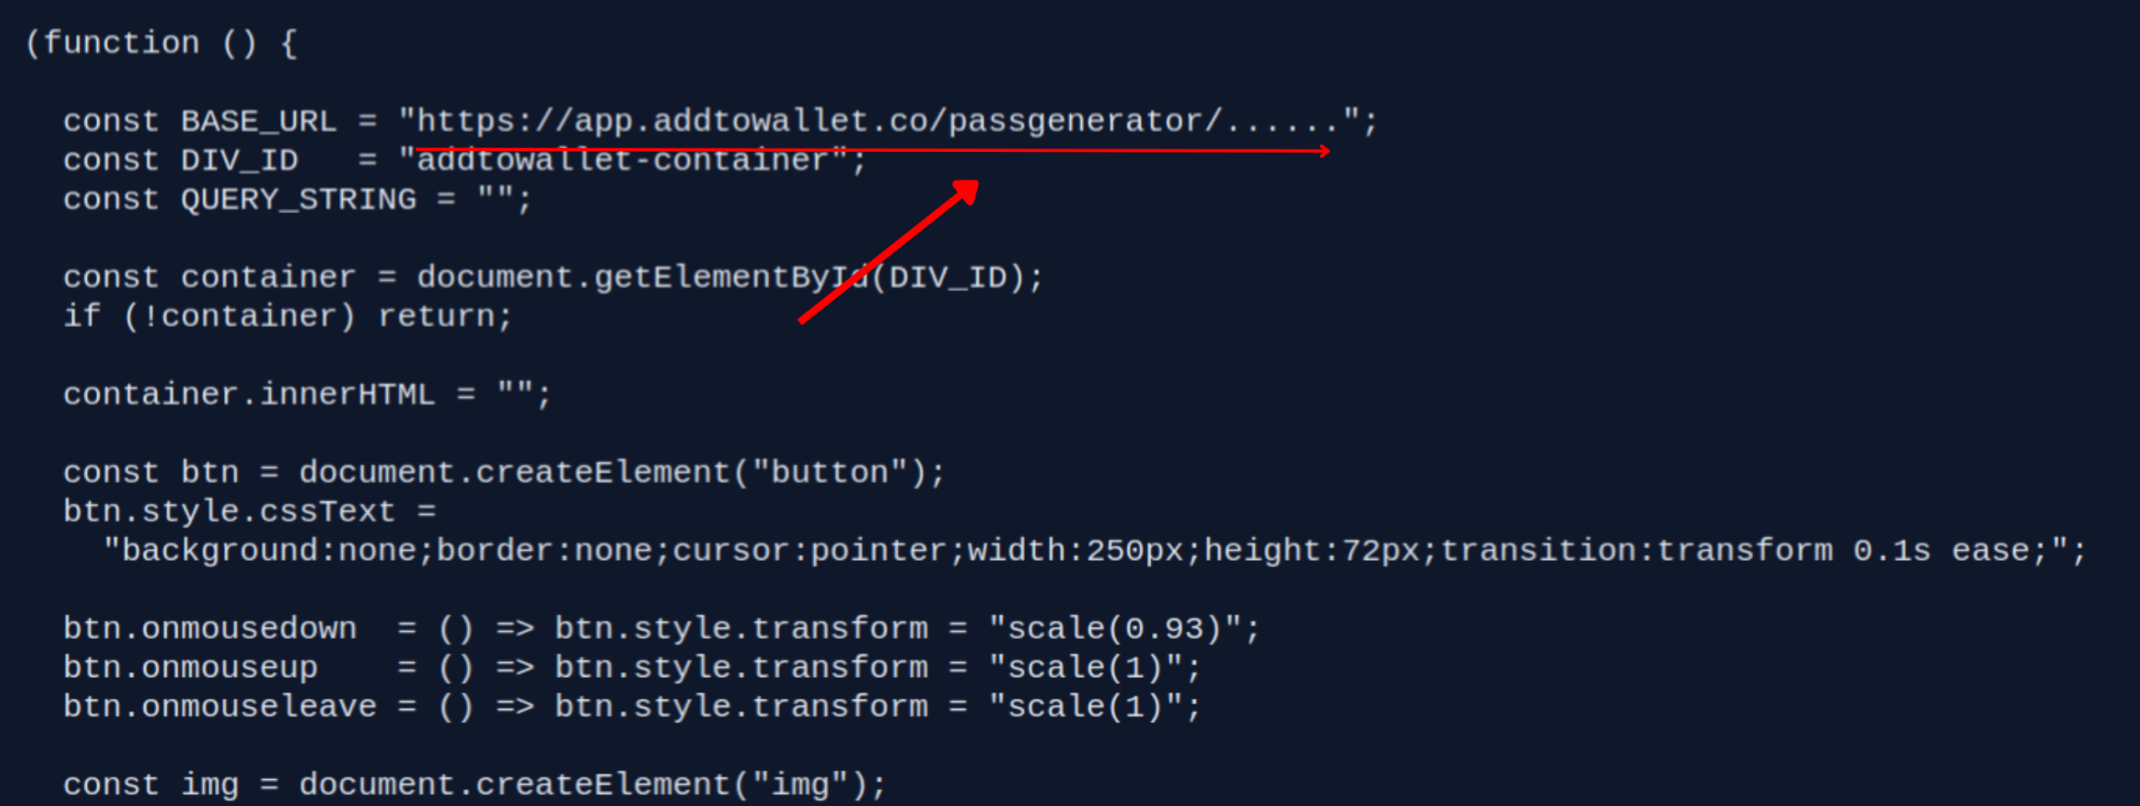
<div id="addtowallet-container"></div>"addtowallet-container" to any ID you prefer — just make sure it matches inside the script.BASE_URL with the full URL you copied in Step 2.(function () {
const BASE_URL = "https://app.addtowallet.co/passgenerator/......";
const DIV_ID = "addtowallet-container";
const QUERY_STRING = "";
const container = document.getElementById(DIV_ID);
if (!container) return;
container.innerHTML = "";
const btn = document.createElement("button");
btn.style.cssText =
"background:none;border:none;cursor:pointer;width:250px;height:72px;transition:transform 0.1s ease;";
btn.onmousedown = () => btn.style.transform = "scale(0.93)";
btn.onmouseup = () => btn.style.transform = "scale(1)";
btn.onmouseleave = () => btn.style.transform = "scale(1)";
const img = document.createElement("img");
img.style.cssText = "width:100%;height:100%;";
const ua = navigator.userAgent;
img.src = (ua.includes("Safari") && !ua.includes("Chrome"))
? "https://s3.amazonaws.com/i.addtowallet.co/assets/add_to_apple_wallet.png"
: "https://s3.amazonaws.com/i.addtowallet.co/assets/Add_to_Google_Wallet_badge.svg.png";
btn.appendChild(img);
container.appendChild(btn);
btn.onclick = () => {
const finalUrl = QUERY_STRING
? `${BASE_URL}?${QUERY_STRING}`
: BASE_URL;
window.open(finalUrl, "_blank");
};
})();
If you want to personalize the wallet pass with dynamic values (like user name, membership ID, order number, etc.), you can update the QUERY_STRING variable inside the script.
By default, it looks like this:
const QUERY_STRING = "";If you want to pass values, update it in this format:
const QUERY_STRING = "name=DemoUser&id=12345";Your website visitors will now see an Apple Wallet or Google Wallet button automatically based on their device — no extra setup required. When they click it, they'll be taken to your pass generator URL to add the pass directly to their wallet.